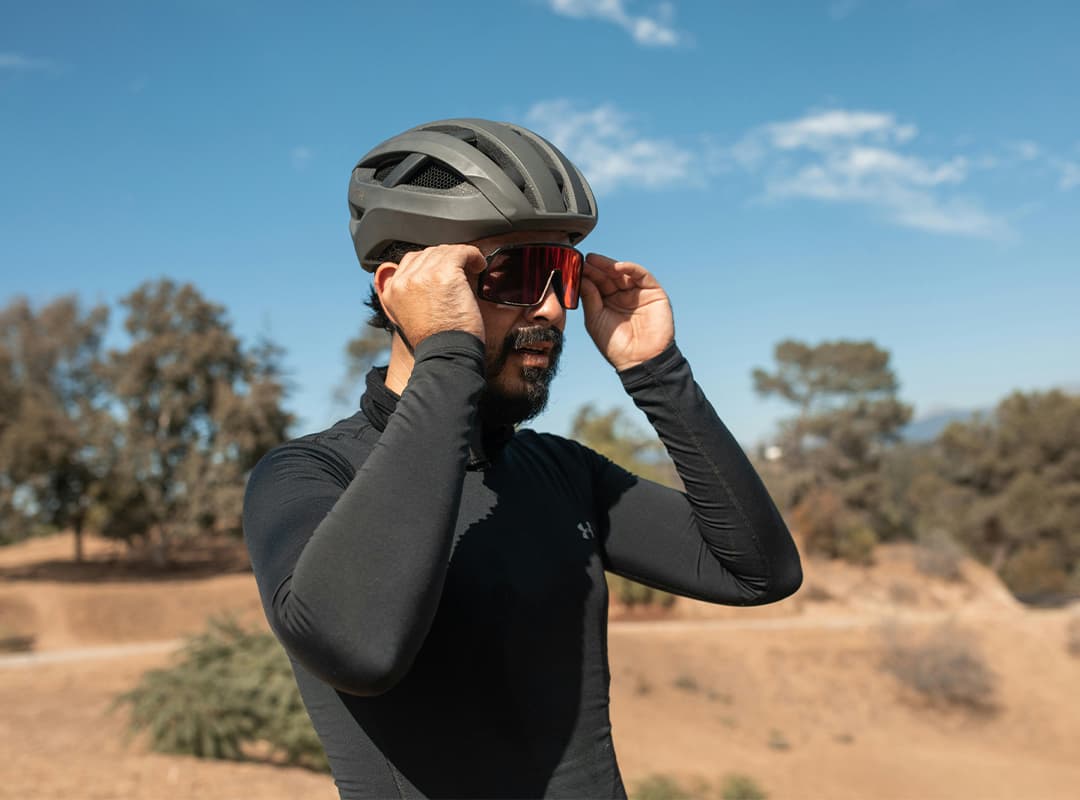
Mountain biking in New Zealand offers not only thrilling trails and breathtaking landscapes but also incredible opportunities for capturing stunning photos. Whether you’re racing through the lush forests of Rotorua or navigating the rugged terrain of Queenstown, documenting your adventure can make your journey even more memorable. Here’s how to take the best MTB photos during your New Zealand bike tours, ensuring you capture the essence of your adventure and the beauty of the surroundings.
1. Choosing the Right Gear
1.1 Camera Options: For capturing high-quality MTB photos, you have several options:
- DSLR Cameras: Offer the best image quality and flexibility. Ideal for serious photographers who want full control over their shots.
- Mirrorless Cameras: Lightweight and versatile, providing excellent image quality with fewer moving parts.
- Action Cameras: Compact and durable, perfect for on-the-go shots and video. Popular choices include GoPro and DJI Osmo Action.
1.2 Accessories: Invest in accessories to enhance your photography:
- Helmet Mounts: Allow for hands-free shooting and provide unique angles.
- Chest Mounts: Offer a rider’s perspective and capture dynamic action shots.
- Tripods: Useful for stable shots, especially in low-light conditions or when taking group photos.
2. Planning Your Shots
2.1 Scout Locations: Before heading out, scout potential photo locations. Look for scenic viewpoints, interesting terrain, and unique features that will add depth to your photos. Locations with dramatic landscapes or unique geological formations make for stunning backdrops.
2.2 Timing is Everything: The best times for photography are during the golden hours—shortly after sunrise and just before sunset. The soft, warm light during these times enhances colors and adds a magical quality to your photos.
2.3 Action Shots: Plan for action shots by anticipating key moments, such as jumps, sharp turns, or technical sections. Communicate with your riding partners to coordinate timing and ensure you capture the action at its peak.
3. Techniques for Great MTB Photos
3.1 Composition Tips:
- Rule of Thirds: Position your subject off-center for a more dynamic and balanced composition.
- Leading Lines: Use natural lines in the landscape, such as trails or rivers, to guide the viewer’s eye to the subject.
- Framing: Frame your shots with elements such as trees or rocks to add depth and context.
3.2 Focus and Exposure:
- Focus: Use continuous autofocus to keep moving subjects sharp. For action shots, focus on the rider or key elements in motion.
- Exposure: Adjust your exposure settings to capture the details in both bright and shadowed areas. Experiment with shutter speed to freeze action or create motion blur, depending on the effect you want.
3.3 Capture the Environment: Don’t just focus on the rider; include the surrounding landscape to provide context and showcase the beauty of New Zealand’s diverse terrain. Wide-angle shots can capture both the action and the landscape, providing a more complete view of your adventure.
4. Post-Processing Tips
4.1 Editing Software: Use editing software like Adobe Lightroom or Photoshop to enhance your photos. Basic adjustments such as cropping, exposure correction, and color enhancement can make a significant difference.
4.2 Sharpening and Noise Reduction: Apply sharpening to bring out details and reduce noise, especially in low-light conditions. Be careful not to over-sharpen or introduce artifacts.
4.3 Color Correction: Adjust colors to reflect the true vibrancy of the landscape. Correct any white balance issues and enhance colors to make your photos pop.
5. Sharing and Preserving Your Photos
5.1 Social Media: Share your best shots on social media platforms like Instagram, Facebook, or biking forums. Use hashtags related to New Zealand bike tours and MTB to connect with other enthusiasts and showcase your adventure.
5.2 Photo Albums: Create digital or physical photo albums to preserve your memories. Printing your best shots can also make for great souvenirs and gifts.
5.3 Backup Your Photos: Ensure your photos are backed up regularly. Use cloud storage services or external hard drives to protect your images from loss or damage.
Capturing stunning photos during your New Zealand bike tours adds a new dimension to your adventure, allowing you to relive and share the experience with others. By choosing the right gear, planning your shots, and applying effective techniques, you can create memorable images that showcase both your MTB skills and the breathtaking landscapes of New Zealand. Embrace the art of MTB photography and let your adventure be immortalized through the lens. Happy shooting and riding!
